Showing posts with label organizing. Show all posts

Thursday, April 26, 2012

{Pinterest Project} Menu Board

So I've developed quite the addiction to Pinterest lately and my boards are quickly filling up with all kinds of ideas and projects I'd like to do. For my birthday a few weeks ago some sweet friends gave me a Michael's gift card and I saw the perfect opportunity to indulge in a little "Mommy time" and do something fun for the house. I had been eyeballing a few uber cute menu boards. 
 
 One is made by a girl who sells kits to make your own for $32 or you can purchase them out of a shop local to her. The other one is from an Etsy shop where they sell for $34 and up. Super cute but a little more than I wanted to spend. So this is what I did:


Purchased:

  • One Metal sign - this was on clearance at Michael's for $4. It was 12x12 but you can use any size. They also have some at Hobby Lobby & Half-Price books. I have no idea where you can get blank ones but I know you can. I figured I was going to cover it anyway so it didn't really matter what it looked like.
  • 6 sheets of scrapbook paper 12x12 - I'll use leftovers on another project in the works
  • a package of bottle caps
  • super duty magnets - got these at Wal-mart
  • 1in. clear round epoxy stickers (they were right next to the bottle caps)
I also purchased a plain white notepad but in the end I didn't have enough room so I had to nix it.

Here's a closer view of the bottle caps, magnets, & epoxy stickers - sorry it's blurry


 I decided to use the adhesives I already had on hand, Mod Podge and some wrinkle-free clear Elmers glue.


Using a foam brush I applied the Mod Podge to the metal sign a little at  a time and carefully added my base scrapbook paper, making sure to line up the edges.


I picked this paper and couldn't have been more thrilled... it's color scheme has given me a vision for the rest of my home's decor. :)

I decorated my sign like a regular scrapbook page. You can go all out with lots of embellishments or keep it simple. I downloaded a fun font from dafont.com and printed out the word "Menu". I cut out around it mimicking the design on my paper. Then using a brown ink pad and cotton ball I shaded the edges to give it a little more character.


 So this is what my board looks like so far:


Next I made the meal option tags. I used the same font to make a list of meals we eat regularly and printed it out on the scrapbook paper. I cut them into uniform sized tags. I included tags for things like eating out and family meals at Grandy's house.
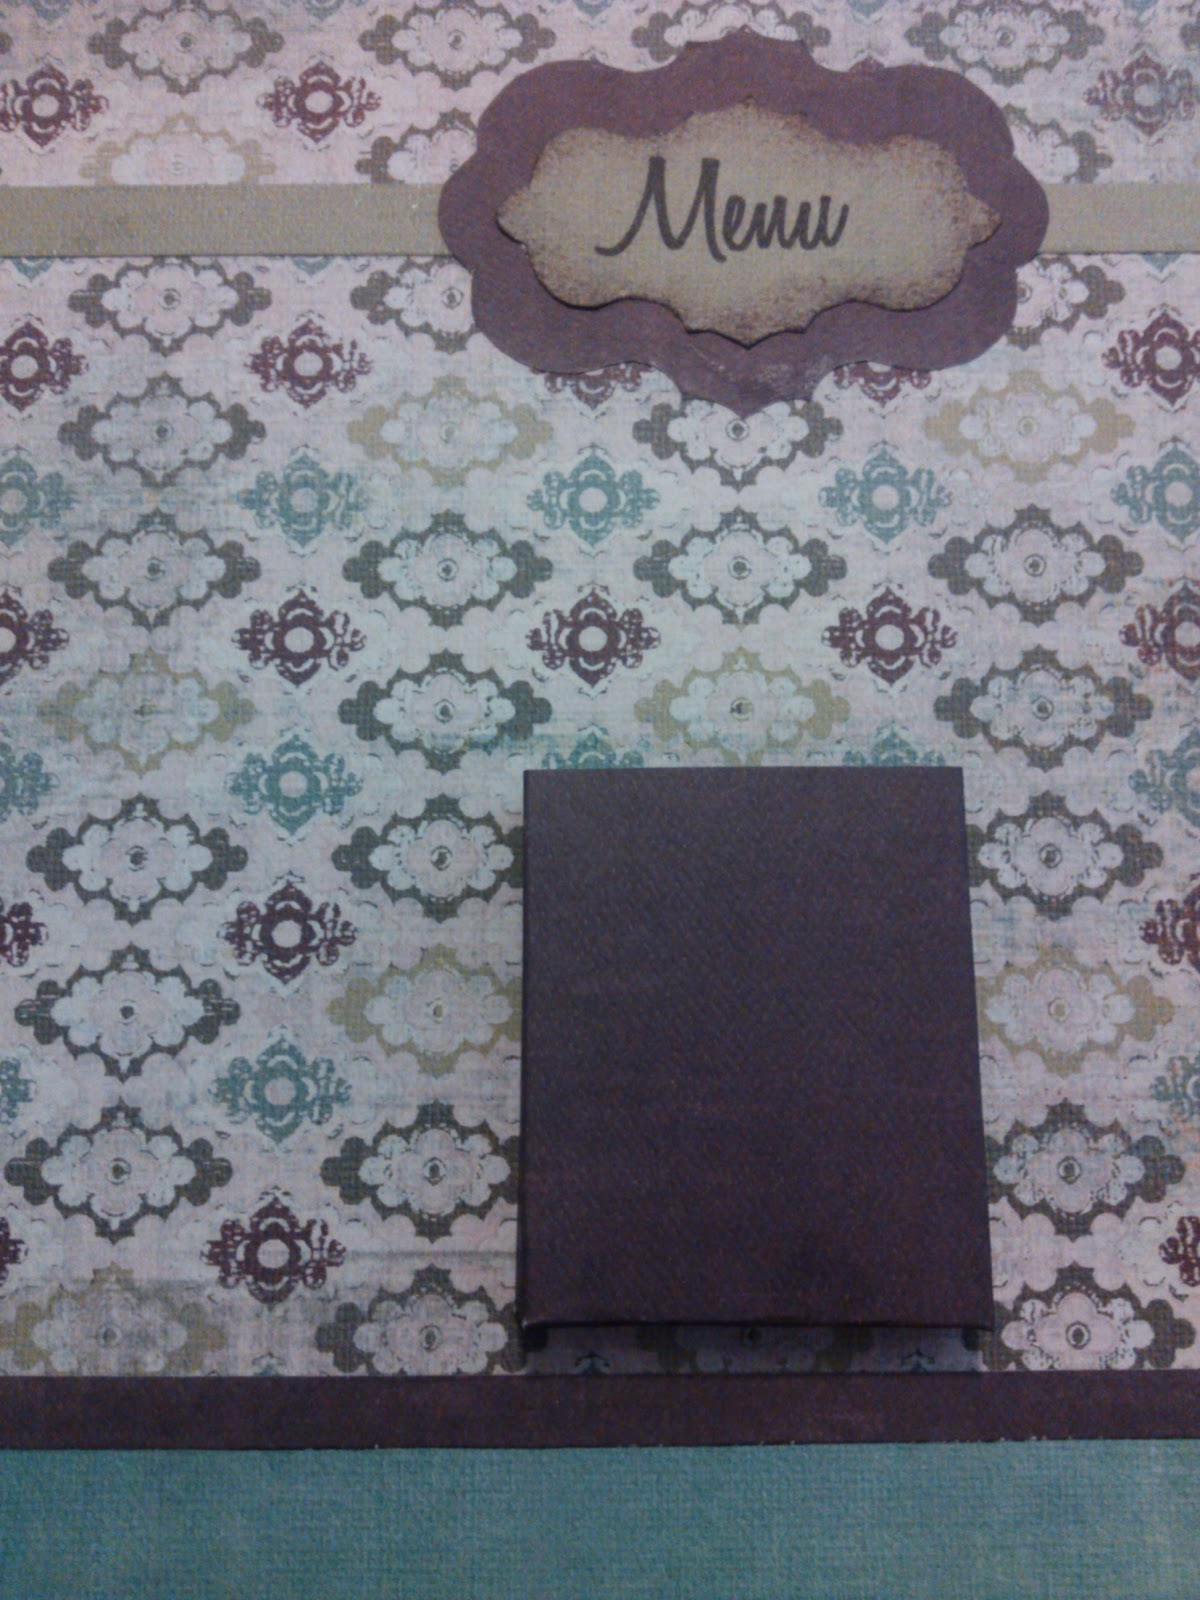
Then I added the pocket to hold the meal tags. I made my own and this was probably the most difficult step. I would suggest wrapping an empty crayon box or using a cute library card holder, even a matchbox. I made a pattern and folded the paper so that it had tabs on the back to glue to the board. I didn't even take pictures of this step... just trust me... wrap something.


Be careful with the placement of your pocket. Make sure there is plenty of room at the top when your tags are in there so that the word "Menu" isn't covered up. This is when I discovered I wouldn't have enough room for the notepad :(.

Finally, I made the magnets for each day of the week. I printed each initial out on some of the scrapbook paper spacing them so I could cut each one out in a 1 inch circle. After I cut each one out I glued it inside of a bottle cap and placed an epoxy sticker on top giving it a finished look.


Then I glued the magnet on the back. I used the wrinkle-free glue for this ad it took overnight to dry. My magnets were fairly strong so I had to make sure and keep them far apart from each other while drying. 

Once they were dry I placed them on the board and added the tags. I used some of the scraps to make blank tags for meal ideas I'll write in later. This sign has hooks on the back for nails and I may tie some ribbon to it and hang on a heavy-duty magnetic hook or I have some strong 3x3 square magnets I can attach to the back to stick it to the fridge.

I'm really pleased with the way it turned out and it only took an afternoon (plus drying time for the magnets). For less than $20 I have a cute addition to my kitchen and a place to direct all those asking "What's for dinner?" :)


Friday, November 25, 2011

Can-solidator Cabinet Organizer Giveaway!!!

One of my favorite blogs, Life In A Shoe is doing a giveaway that has me all giddy. We all know that one of my favorite hobbies is couponing. And now, as my stockpile grows, the need for organization increases as well. I'd LOVE to have one of these can organizers. Wouldn't you? Over at Shelf Reliance they have all kinds of shelving units, from the large units you might see in a store to the small 20 can units that would fit perfect in your cabinet. Head over to Life's blog here and enter! Maybe this beauty can be yours!

Wednesday, July 27, 2011

The shopping game

I recently read a blog comment where a woman shared that throughout the year she would buy clothing items at garage sales, thrift stores, and clearance racks when she found a good deal. Then when it was time to do "Back to School" clothes shopping for her kids she'd give them each fake money and they could shop through her bargain finds. They got 'new' clothes and she didn't break the bank. I liked this idea but wanted to tweek it for my purposes.

A little over a year ago I spent some time weeding through my children's clothes. And then, I kid you not, that very same week we received 3 garbage bags full of hand-me-downs. Don't get me wrong. I'm always SO thankful for the provisions God makes, but my house was becoming overwhelmed. The laundry situation was out of control, my children didn't take pride in what they own, and this blessing of abundance was becoming a burden. As we get ready to add another person to the house I am even more motivated to get rid of the stuff. My mom, sisters, & I are having a garage sale this weekend so now was as good a time as any.

I spent the last two or three days washing, hanging, and folding every article of clothes my children own. I've gone through countless boxes from the garage. Everything is clean and easily accessible. So now the game. Using a slightly updated version of my clothing list, I made vouchers for the girls. Each one has a specific article of clothing needed. For example, 'One nice dress', or 'a pair of black church shoes'. They will then take the vouchers and 'shop' through their clothes. Anything that's left will either go to the garage sale or Goodwill, or a few choice items may be saved for a younger sibling. And if they are in need of an item (let's say a pair of jeans) then they'll have a voucher for that item left over at the end of the game and I know exactly what to keep my eye out for. I'll do this for Izzie (with a little of her input, maybe) and then later on for the boys. Now, there are some additional guidelines. The items they choose have to pass mom's inspection. They must fit well, be modest, & have no stains or holes.

To avoid the previous dilemma of 'gifts' adding to the closets, we'll institute an "Exchange Program". Say Chelsea gets a new dress for Christmas, she'll need to pick one of her older dresses to exchange for it.

Does this make any sense? The girls are very excited to 'shop' and I'm thrilled to be getting rid of some stuff. I'm tired of looking at this mountain of clothes constantly needing my attention.

Wednesday, June 02, 2010

Simplicity

“If honor be your clothing, the suit will last a lifetime; but if clothing be your honor, it will soon be worn threadbare” ~ William Arnot

That’s what I’m striving for. I feel like our life has become so cluttered with ‘stuff’ that we are losing grasp on the important things. I’m constantly overwhelmed by the amount of dishes and laundry. We clearly own way more than we need and it’s becoming a problem.

With the school year coming to a close I find it’s a perfect time to start fresh in many areas. I’ve started compiling a list of chores for the girls and weeding out the unnecessary ‘things’. First stop… the clothes. I’ve thought about what we truly need in the way of clothing.

Here’s what I’ve come up with for the children:

  • One of each:
    • Winter Coat
    • Sweater (to wear with church dresses)
    • Casual jacket
    • Scarf
    • Winter hat

  • Two of each:
    • Gloves/mittens
    • Swimsuits
    • Shorts for wearing under dresses

  • Three of each:
    • Pair of pajamas
    • Jeans or casual pants

  • Four :
    • Dresses appropriate for church

  • Seven of each:
    • Undies
    • Pairs of socks
    • Other outfits – shorts or skirts w/ tops or casual dresses

When winter rolls around the shorts will be swapped out for warmer counterparts. Things outgrown will be passed down to younger siblings, sold at JBF, or donated to the church clothing closet. I’m going to try to adhere to the same guidelines for myself with the exception of three “Special Occasion” outfits. Graham has different clothing needs because of work.

You might think this sounds like a lot. This is actually about what Chelsea owns now with the exception of more undies and PJ’s. My other children have three or four times this much. Mackenzie can fill an entire closet on her own and Silas probably owns over 20 onesies that fit him currently. This is crazy, especially when the result is what feels like 100 loads of laundry. God has blessed us immensely with many things, and it is our responsibility to be good stewards with what we have.

Next on the list…. TOYS!