Showing posts with label organization. Show all posts

Thursday, April 26, 2012

{Pinterest Project} Menu Board

So I've developed quite the addiction to Pinterest lately and my boards are quickly filling up with all kinds of ideas and projects I'd like to do. For my birthday a few weeks ago some sweet friends gave me a Michael's gift card and I saw the perfect opportunity to indulge in a little "Mommy time" and do something fun for the house. I had been eyeballing a few uber cute menu boards. 
 
 One is made by a girl who sells kits to make your own for $32 or you can purchase them out of a shop local to her. The other one is from an Etsy shop where they sell for $34 and up. Super cute but a little more than I wanted to spend. So this is what I did:


Purchased:

  • One Metal sign - this was on clearance at Michael's for $4. It was 12x12 but you can use any size. They also have some at Hobby Lobby & Half-Price books. I have no idea where you can get blank ones but I know you can. I figured I was going to cover it anyway so it didn't really matter what it looked like.
  • 6 sheets of scrapbook paper 12x12 - I'll use leftovers on another project in the works
  • a package of bottle caps
  • super duty magnets - got these at Wal-mart
  • 1in. clear round epoxy stickers (they were right next to the bottle caps)
I also purchased a plain white notepad but in the end I didn't have enough room so I had to nix it.

Here's a closer view of the bottle caps, magnets, & epoxy stickers - sorry it's blurry


 I decided to use the adhesives I already had on hand, Mod Podge and some wrinkle-free clear Elmers glue.


Using a foam brush I applied the Mod Podge to the metal sign a little at  a time and carefully added my base scrapbook paper, making sure to line up the edges.


I picked this paper and couldn't have been more thrilled... it's color scheme has given me a vision for the rest of my home's decor. :)

I decorated my sign like a regular scrapbook page. You can go all out with lots of embellishments or keep it simple. I downloaded a fun font from dafont.com and printed out the word "Menu". I cut out around it mimicking the design on my paper. Then using a brown ink pad and cotton ball I shaded the edges to give it a little more character.


 So this is what my board looks like so far:


Next I made the meal option tags. I used the same font to make a list of meals we eat regularly and printed it out on the scrapbook paper. I cut them into uniform sized tags. I included tags for things like eating out and family meals at Grandy's house.
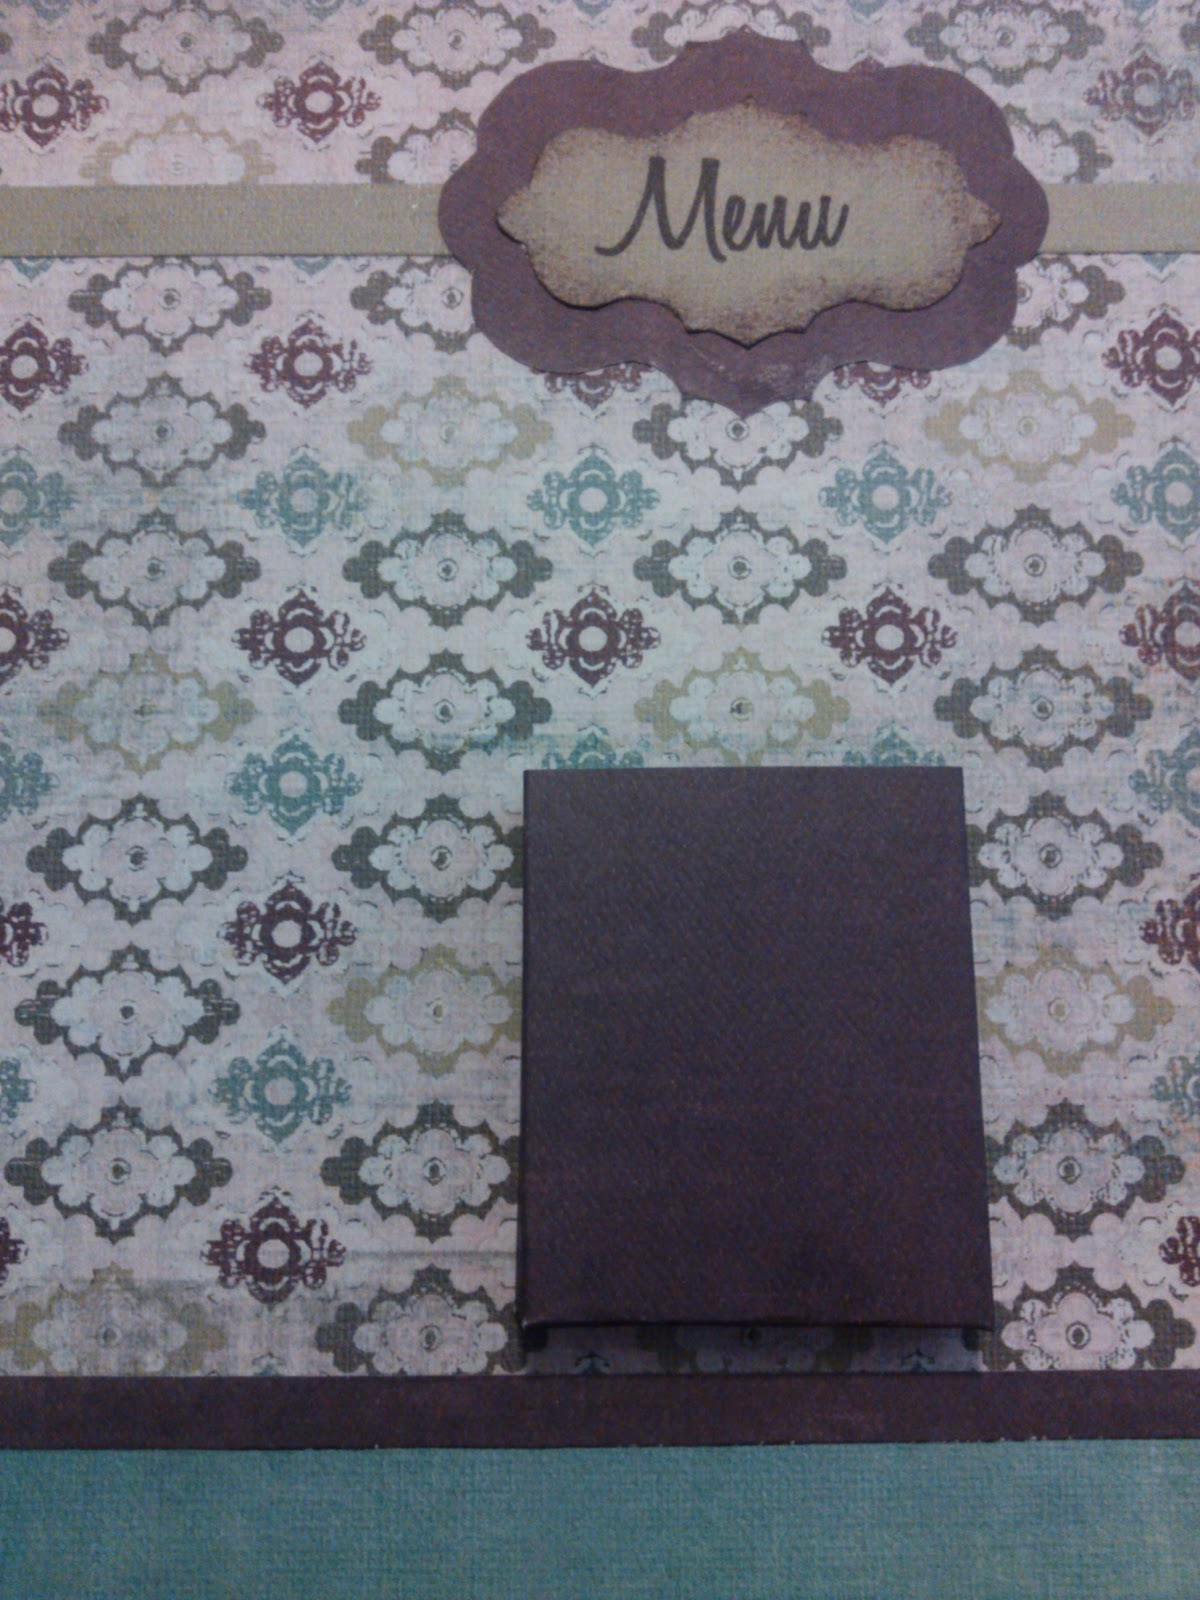
Then I added the pocket to hold the meal tags. I made my own and this was probably the most difficult step. I would suggest wrapping an empty crayon box or using a cute library card holder, even a matchbox. I made a pattern and folded the paper so that it had tabs on the back to glue to the board. I didn't even take pictures of this step... just trust me... wrap something.


Be careful with the placement of your pocket. Make sure there is plenty of room at the top when your tags are in there so that the word "Menu" isn't covered up. This is when I discovered I wouldn't have enough room for the notepad :(.

Finally, I made the magnets for each day of the week. I printed each initial out on some of the scrapbook paper spacing them so I could cut each one out in a 1 inch circle. After I cut each one out I glued it inside of a bottle cap and placed an epoxy sticker on top giving it a finished look.


Then I glued the magnet on the back. I used the wrinkle-free glue for this ad it took overnight to dry. My magnets were fairly strong so I had to make sure and keep them far apart from each other while drying. 

Once they were dry I placed them on the board and added the tags. I used some of the scraps to make blank tags for meal ideas I'll write in later. This sign has hooks on the back for nails and I may tie some ribbon to it and hang on a heavy-duty magnetic hook or I have some strong 3x3 square magnets I can attach to the back to stick it to the fridge.

I'm really pleased with the way it turned out and it only took an afternoon (plus drying time for the magnets). For less than $20 I have a cute addition to my kitchen and a place to direct all those asking "What's for dinner?" :)


Friday, November 25, 2011

Can-solidator Cabinet Organizer Giveaway!!!

One of my favorite blogs, Life In A Shoe is doing a giveaway that has me all giddy. We all know that one of my favorite hobbies is couponing. And now, as my stockpile grows, the need for organization increases as well. I'd LOVE to have one of these can organizers. Wouldn't you? Over at Shelf Reliance they have all kinds of shelving units, from the large units you might see in a store to the small 20 can units that would fit perfect in your cabinet. Head over to Life's blog here and enter! Maybe this beauty can be yours!

Thursday, May 26, 2011

Coupon Categories

Some of you have asked about my coupon binder categories. I based my list off of the Krazy Coupon Lady’s and made my own personalizations. Her list is not alterable so I had to type up my own and dressed it up.

1. Salty Snacks/Chips
2. Granola/Fruit Snacks
3. Pasta & Sauce
4. Soup
5. Baking
6. Breakfast
7. Prepared Sides/rice
8. Condiments/Salad Dressing
9. Drinks
10. Refrigerated
11. Freezer
12. Candy
13. Diapers
14. Misc. Baby - Wash/Lotion
15. Paper Products/ Ziplock
16. Surface Cleaners
17. Laundry
  • Detergent
  • Stain Removers
18. Dish washing
  • Detergent
  • Liquid Soap
19. Air Fresheners
20. Meds/Vitamins
21. First Aid
22. Beauty
  • Make-up
  • Facial Cleansers
23. Oral Care
  • Toothbrushes
  • Toothpaste
24. Soap & Body Wash
  • His
  • Hers
25. Hair Care
  • Shampoo
  • Styling
  • Color
26. Lotion
27. Shaving
  • His
  • Hers
28. Deodorant
  • His
  • Hers
29. Feminine Hygiene
30. Misc.

I added the subcategories just because I like to keep things a little more organized. I removed the categories Produce, Vegetables, Fruit, PB &J, Yogurt, Pets and combined some of the other categories.

I've been clipping coupons on Sunday nights (afternoon if nap time allows). Then I put away in the binder all the ones I want to keep and set aside the ones I know I won't use to donate to overseas military families or pass along to friends that have requested them. I like to look at the Sales Ad Previews that come out the Friday or Saturday before so I can get an idea of the super good buys I'll want to snag at CVS and Walgreens as soon as possible. These go really fast, I've learned, so if it's something I really want to get I'll make a shopping trip on Sunday. For example, this week Walgreens had a special on swim diapers and since we joined the pool this summer I knew we'd need lots of these and the price was excellent. We stopped in on our way to church Sunday morning. On Monday I usually go through my binder and pull any coupons that expire that week and see if there are any sales I can use them on.

I'll expound on my grocery routine in my next post. I need some help in this area, so get your thinking caps on.

Tuesday, May 10, 2011

My Coupon Binder

Most couponers will tell you that organization is the key to savings success. You can't use a coupon if you can't find it, right? The Krazy Coupon Lady has a great little video here explaining two different methods of setting up your coupon binder. I like the clipping method just because I can then toss, or pass on, the ones I know I won't use. Less clutter.

Now, I'm a homeschool mom so I had most of these 'supplies' already laying around the house. With the purchase of a package of baseball card holders ($5 at Target), I was good to go.

Target also has some REALLY cute binders that looked all fun and girlie but I already had this plain black one and it worked for my budget :)


This is the first page: A plastic page protector where I keep my designated coupons for a particular shopping trip. I tossed a few paper clips in there to clip them together and some post-it flags to label each group of coupons with the name of the store I plan on using them at. This way I can plan several different trips at once and they are ready to go when it is convenient to go to that particular store.

The second page is a homemade Table of Contents. Krazy Coupon Lady also has a printable one of these that's very cute but I knew I didn't want all of her categories and it's not alterable so I opted to make my own. (Sorry, these pictures are not very good, at all)


Next I have a copy of sales cycles in the left pocket. This is a list that breaks down each month and lists items that typically go on sale during that time. I keep the current month on the front page for easy reference. In the opposite sleeve are all of my store coupon policies. This way I can refer to it if there is ever an issue with a transaction while I'm in the store.


The next sleeve is where I keep my Walgreens Coupon Booklet. (A book of coupons you can find at the front of the store with the regular weekly ad.) I also keep retail store specific coupons in this sleeve. For example, here I have some coupons for Compass Trading Co. because I've got a graduation gift to buy soon.


This next sleeve is usually empty but this week I happened across two really good coupons that I knew my sister Erin might use. It's her sleeve. Sometimes it holds sales ads.


And finally, this is what the rest of the binder looks like. Pages and pages of baseball card holders precisely stuffed with various coupons. Each page has its own category designation. I think this part is pretty. It strangely makes me happy to see all of these useful pieces of paper neatly tucked away. I know. I'm odd.

So there it is. Now, show me yours.

Tuesday, April 19, 2011

Getting Organized

She looks so happy being organized :)

After breezing through the first ten or so virtual classes I deduced that my first step is to get organized. In an effort to save my sanity and ease my way into this process I’m going to keep it simple and shop one store when couponing. And to my delight, it ain’t Wal-mart. I’ll get into the where and why later as not to confuse the issue at hand…. Organization.

I’ve read about several different methods for organizing your coupons and the one I like best is the binder method (vs. shoe box, recipe holder, bins). I need a few things:

  • A three ring binder
  • Baseball card binder sleeves (I value my life enough to not empty out the ones currently housing my husband’s collection so I plan on checking Hobby Lobby and if I can’t find some there I’ll check a sports/comic book shop) You could also use photo holders
  • A zippered binder pouch large enough to hold a pencil/pen or two and a small calculator (or you can use the one on your phone, if it is handy)
  • A few plastic page protectors

The page protectors will be used to hold a copy of my chosen store’s coupon policy, possibly a price list of regular items I buy, and an empty one in the front to hold the coupons I will need at checkout.

The card sleeves will hold the coupons. There are several ways to organize these: by product type (Dairy, frozen, household, etc) or by store layout (What’s on aisle 1, aisle 2, etc.) I think I’m going to start with the second one but this may change.

Here is a great link on how to get organized and a little more detail on couponing itself:

http://www.weusecoupons.com/upload/articles/4595-lauras-couponing-refunding-hints-tips-plus-coupon-binder-how.html

Her binder is a little overwhelming. She goes to several stores and clips GAZILLIONS of coupons. She suggests a binder with a strap or rigging up your own… I’m not that hardcore. I also didn’t read much into the part at the bottom about rebating…. Baby Steps. I think this is key in not getting overwhelmed and giving up.

So my goal for the next few days is to gather my supplies and get my binder together. I’ll post pics when I’m done. Then I plan on starting a Price Book. She explains what this is and how it works in the article. I will only log prices on the things I buy most often or that I’d like to stockpile.

Hope this helps get you motivated to get organized. If you need a little more of a visual I’m sure there are youtube videos - sorry I didn’t have time to find some good ones to post here.

Coming soon…. Where to find coupons

Happy Organizing!!!