So I've developed quite the addiction to Pinterest lately and my boards are quickly filling up with all kinds of ideas and projects I'd like to do. For my birthday a few weeks ago some sweet friends gave me a Michael's gift card and I saw the perfect opportunity to indulge in a little "Mommy time" and do something fun for the house. I had been eyeballing a few uber cute menu boards.
One is made by a girl who sells kits to make your own for $32 or you can purchase them out of a shop local to her. The other one is from an Etsy shop where they
sell for $34 and up. Super cute but a little more than I wanted to
spend. So this is what I did:

Purchased:
- One Metal sign - this was on clearance at Michael's for $4. It was 12x12 but you can use any size. They also have some at Hobby Lobby & Half-Price books. I have no idea where you can get blank ones but I know you can. I figured I was going to cover it anyway so it didn't really matter what it looked like.
- 6 sheets of scrapbook paper 12x12 - I'll use leftovers on another project in the works
- a package of bottle caps
- super duty magnets - got these at Wal-mart
- 1in. clear round epoxy stickers (they were right next to the bottle caps)
 | |||
| Here's a closer view of the bottle caps, magnets, & epoxy stickers - sorry it's blurry |
I decided to use the adhesives I already had on hand, Mod Podge and some wrinkle-free clear Elmers glue.

Using a foam brush I applied the Mod Podge to the metal sign a little at a time and carefully added my base scrapbook paper, making sure to line up the edges.

I picked this paper and couldn't have been more thrilled... it's color scheme has given me a vision for the rest of my home's decor. :)
I decorated my sign like a regular scrapbook page. You can go all out with lots of embellishments or keep it simple. I downloaded a fun font from dafont.com and printed out the word "Menu". I cut out around it mimicking the design on my paper. Then using a brown ink pad and cotton ball I shaded the edges to give it a little more character.


Next I made the meal option tags. I used the same font to make a list of meals we eat regularly and printed it out on the scrapbook paper. I cut them into uniform sized tags. I included tags for things like eating out and family meals at Grandy's house.
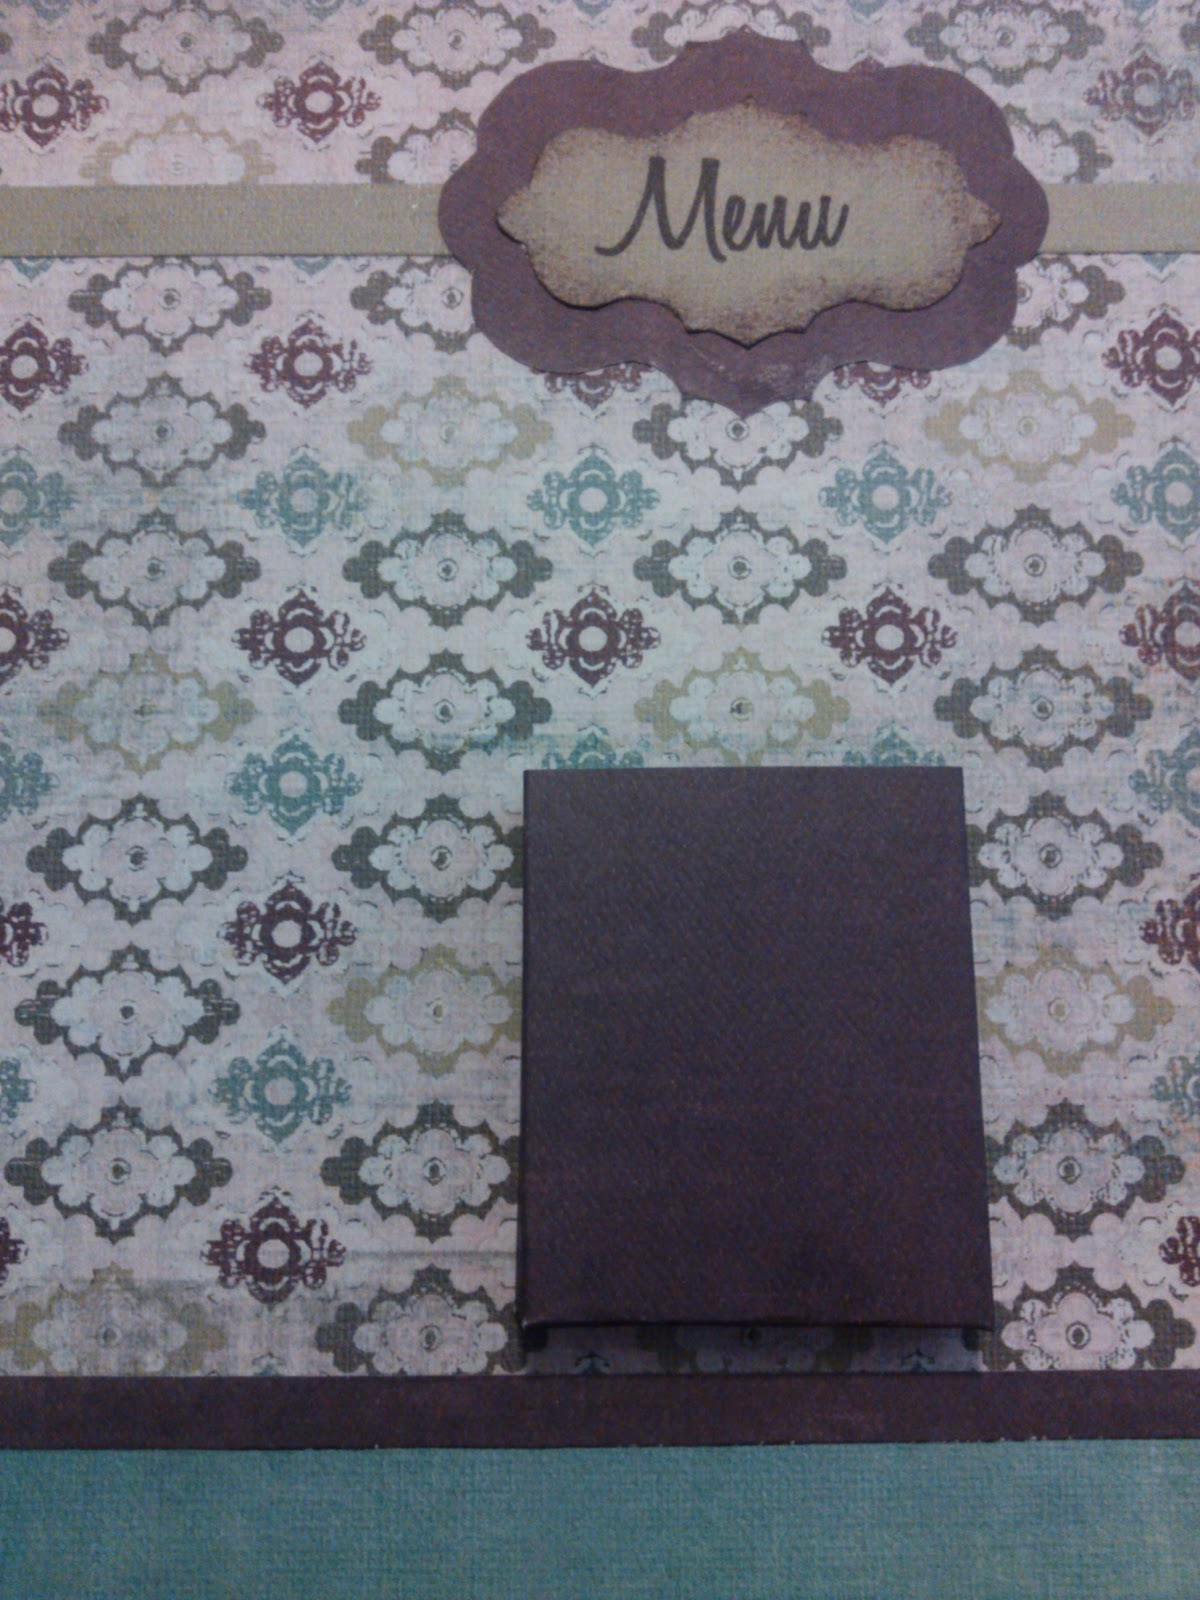
Be careful with the placement of your pocket. Make sure there is plenty of room at the top when your tags are in there so that the word "Menu" isn't covered up. This is when I discovered I wouldn't have enough room for the notepad :(.
Finally, I made the magnets for each day of the week. I printed each initial out on some of the scrapbook paper spacing them so I could cut each one out in a 1 inch circle. After I cut each one out I glued it inside of a bottle cap and placed an epoxy sticker on top giving it a finished look.


Then I glued the magnet on the back. I used the wrinkle-free glue for this ad it took overnight to dry. My magnets were fairly strong so I had to make sure and keep them far apart from each other while drying.
Once they were dry I placed them on the board and added the tags. I used some of the scraps to make blank tags for meal ideas I'll write in later. This sign has hooks on the back for nails and I may tie some ribbon to it and hang on a heavy-duty magnetic hook or I have some strong 3x3 square magnets I can attach to the back to stick it to the fridge.
I'm really pleased with the way it turned out and it only took an afternoon (plus drying time for the magnets). For less than $20 I have a cute addition to my kitchen and a place to direct all those asking "What's for dinner?" :)


1 comment:
I've been dying to make one of these! Yours is adorable!
Post a Comment